Showing posts with label Makeover Monday. Show all posts

Monday, March 25, 2013

Monday Makeover: Part 1- Master Bedroom paint is on the "Horizon"

As I said in the last post we were hoping to tackle our bedroom this past weekend with a paint change up.  Thanks to my husband's drive and ambition this task is pretty much complete and the bedroom makeover is finally underway.  When we bought our home almost 3 years ago (this May), I picked a paint color that I thought flowed with our duvet cover.  It was a neutral tan called "Earthy Cane" which I really liked but in our room it just never seemed to fit right.  It always felt dark and blah every time I walked into the room and that's exactly what I don't want to feel when I walk into my bedroom.  I want this to be a space where I can create an oasis that gives me room to relax, shut the door and take a little breather from the business of life.  I want it to have a bright airy feel with a little romantic flare but not too feminine since of course the hubs shares the space as well :)  I struggled with picking the right paint color this time.  I knew I wanted a light color, almost white with a grayish tint.  I had a few picked out and finally decided on Benjamin Moore's  "Horizon".  It is a light silvery/gray color with undertones of blue. Of course I didn't buy the Benjamin Moore paint because I didn't want to spend that much, but instead I brought the color to Lowe's and had them color match it in Valspar's 2 in 1 No VOC-Low Odor paint.  I was SO IMPRESSED with the coverage of the paint and plan to use it in the nursery for our next project.

When I envision this room I see white airy curtains, a crystal chandelier of some sorts, linen fabric headboard  with a small sunburst mirror over it, and a large rug to help ground the room and complete the warmth of the space.  I have an old vintage desk that my dad gifted me and side tables that I bought at the Goodwill last year that I plan to refinish.  But before moving forward with all the decor and fun stuff, here is the foundation and basis of our room, the walls.  I think if the walls could talk they are a lot happier as am I.  We slept in the nursery/guest room last night since the fumes were strong but when I walked into the room this morning I was very pleased with the result.  I'm not a fan of it with the bright lights on at night because it changes the look, but in the daylight its exactly what I envisioned.  I plan to put soft lighting in when we change out the lighting.  It's amazing how the right lighting can change the whole atmosphere and mood!

Here is the process of our painting party weekend:

 BEFORE Color in "Earthy Cane" and AFTER in "Horizon"
 
BEFORE...

 The journey of the process...
           
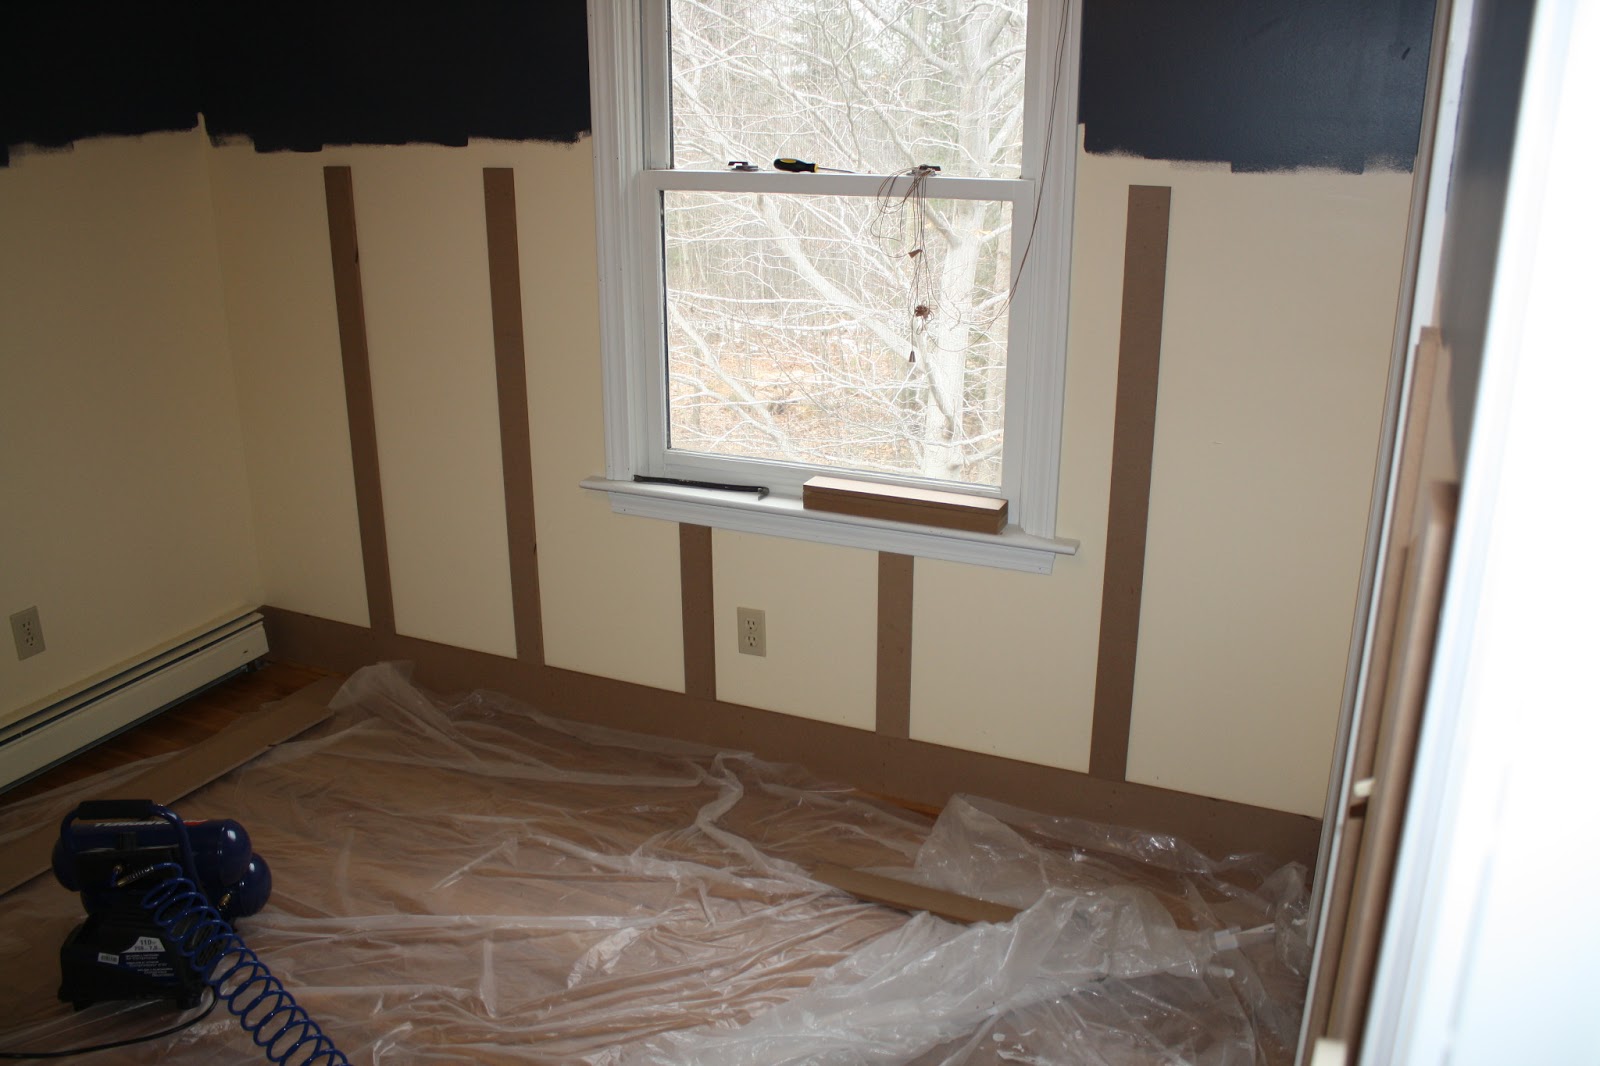
Removed all the outlet covers and trimmed out the entire room first.


First coat is going up...looks white in this picture still.

The hubs rolled the paint while I trimmed.  He is amazing and am so thankful he will help tackle projects with me. We work well as a team.  I'm the detail perfectionist and Nate is the bulldozer and motivator that keeps me going and gets the job done efficiently.  
  
2nd and last coat is up!  Planning to repaint trim "Decorators White" like in Eli's room so it's a little brighter white.


Choosing a paint color can be intimidating and scary, but don't let it keep you from taking a risk and diving in.  To be honest, I'm repainting almost every room in our house that we painted almost 3 years ago because after living in the home, I realize what I really like and what I want to live with long term.  When we moved in, I was picking colors in a flurry so we could get our things settled.  I would advise new home owners not to rush too quickly in painting your rooms because your perspective and liking can change once you live life in a space.  The great thing about paint is that it can be changed easily so you are never locked into it.  Keep in mind the lighting in a room when picking your paint color because that can completely alter the look.  I have had paint swatches hanging along our door frames for a while now so I could think about what I really envisioned and wanted.  And of course, you can always pay a few dollars for paint samples if you need to see larger samples side by side to make your final decision.  If anyone out there is questioning a color or needs help picking one, shoot me an email and maybe I can help brainstorm with you :)  I will be back soon with the next step in the process of the master bedroom makeover!  

As we head into our week leading up to Good Friday and Easter/Resurrection Sunday, may we all  be reminded to fix our minds and hearts on the sober reality of what this time and season represents.  My prayer is that we would all be opened up to new "Horizons" as we set our eyes on Jesus, the source of true life and the answer to all our needs!  

Happy Monday!

Monday, February 4, 2013

Monday Makover- Part 2: Board and Batten is up and rolling!

What a day!  The hubby and I have been working non-stop on the little man's room since early this morning.  The hubs started putting the molding up on Saturday and it is almost complete today!  One step left of putting up a trim piece on the top, but besides that, MISSION (almost) COMPLETE!!  It's so fun watching what I envisioned in my mind come together in reality.  I am quite proud of my hubby for tackling this project.  He will be the first to tell you that he is not naturally a carpenter, but he is willing to roll up his sleeves and give anything a try.  He did an amazing job and I'm a proud wife to say the least :)

Here is the process of installing the board and batten this far:

1.  Installed the base board on this last post (here).  We purchased MDF sheets in the Lumber department at Home Depot for $25 each.  It took 3 for our project with a little left over for another project.  We had Home Depot cut the  width for us and Nate cut the length himself.  This helped cut out a lot of extra time and mess.

2.  Next, came the measuring and cutting the length of the batten and upper molding.  We marked the wall where we wanted the batten and Nate used his chop saw to cut it.  The batten boards were 3 inches wide and we decided we wanted them 16 inches a part on the wall.  The top molding was cut to 5 inches wide with a 3 inch molding on top for a small shelf and a trim piece to complete the look. 

We knew we wanted to keep it the most cost effective way when installing the boards.  Since the sheets come 8 foot long, we cut the strips in half for 4 foot high batten.  The baseboard molding is 6 inches and the top molding is 5 inches with a little shelf molding on top.  That makes the height of the molding around 5 feet tall from bottom of baseboard to top of the shelf.  Here is the hubby measuring the 16 inches between the batten.  He installed the molding with his nail gun.  If you wanted extra support, you could glue in addition to nailing, because you are not guaranteed to hit a stud on every batten board.  We found that the boards were very secure in the wall with just the nail gun in our case.


 There is the 5 inch molding being installed on top of the batten.


3.  Used wood filler to fill in the seems of the wood on each batten and the corners where the top molding met up.  We let it dry overnight and then sanded today.  This part can be a little tricky and ours is not completely perfect and seamless but no one can tell unless you are closely examining it. 


4.  Next, after sanding, I primed all the MDF molding.  I left the wall as is because the color was so light and I knew the paint would cover it well.  Removed all the outlet covers before painting.  We are going to change the electrical out to white instead of cream so it blends in with the molding and wall.  This part will be done this week.


 Our little helper!  He has the sanding block in this picture below while styling the no pants look.  This was right after nap and he was excited and ready to help out!

5.  First coat of white paint.  We used Benjamin Moore's color "Decorators White" since that's what we used downstairs in the kitchen and I was really happy with it.  It is in the "Pottery Barn" collection at BM.  Since I didn't want to spend the price of Benjamin Moore paint I brought the color to Lowe's and they color matched it perfectly.  I bought the signature Valspar 2  in 1 primer and paint and it matches the kitchen color to a T!  Here is the first coat below.  I used a paint brush to get in the nooks and crannys and used a small 4 inch roller to roll the wall and front of molding.  The first coat had great coverage but I'm planning on doing a second coat touch up in the morning for those little spots that may have been missed.

 Here is the hubby using his nail gun to nail the top shelf onto the top molding.


 Here is a closeup of the molding.  There is a trim piece that still needs to be installed on the top in the picture below.  That will happen tomorrow hopefully! 

I will be back this week with a follow up so you can see the Board and Batten complete.  Anyone else thinking of putting this up in your home?  It's amazing what a transformation and statement it makes in a room.  The room looks completely different than it did a few days ago.  Can't wait to get the boy back in there and to decorate and accessorize it for him.  He is anxious to get back in there as well.  He kept asking us all day, "is my room ready yet?" ...Stay tuned! :)